
After watching The Great British Bake Off, I have been inspired to make something from scratch! Since I was a bit nervous about messing it up, I asked my mom (who is also a huge bake off fan) to join in with me on baking a plain loaf of bread. We picked Paul Hollywood’s Classic Bloomer Loaf because it is said to be the easiest bread for first-timers. It was a very cool experience with physically kneading the dough, waiting for it to prove (twice!), and then finally baking it and seeing how it turned out. I took pictures of the important steps as we went to document what our first bread baking was like!
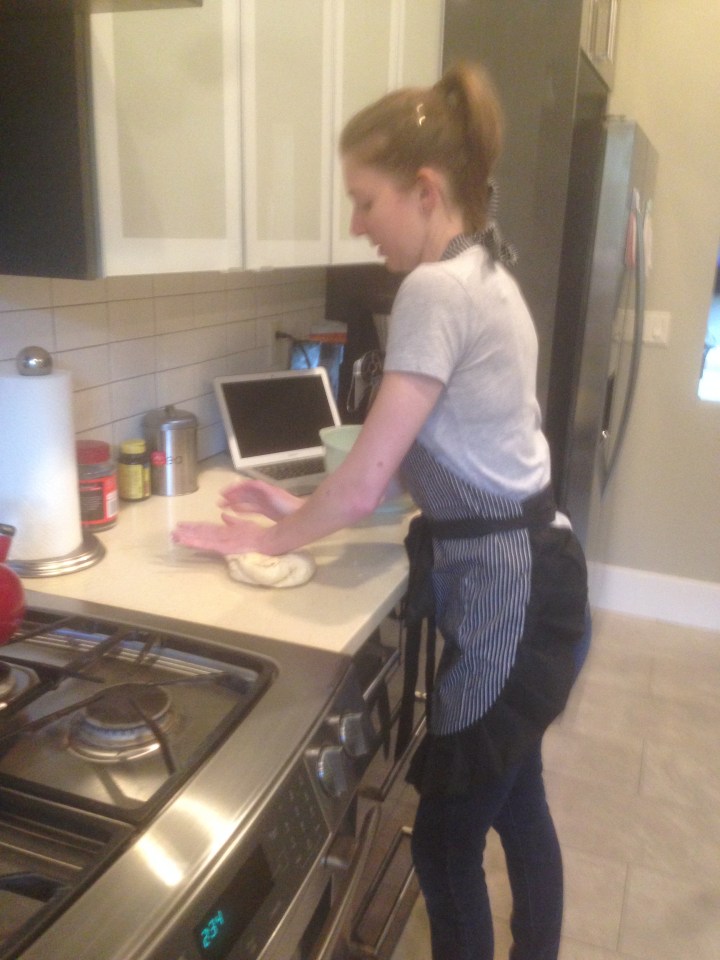
After we measured out the ingredients into our bowls – making sure not to let the salt and yeast mix! – we kneaded the dough for between 5-10 minutes. We were following a video that Paul Hollywood had made (above), so we could understand how some parts of the recipe worked. Neither of us had ever kneaded bread dough, so a visual was a great way to fully understand the correct technique. I know my arms were feeling it after only a few minutes, but we had to keep the action going in order to allow the yeast to start “waking up.”
Then came the first prove! This made me feel like such a baker 🙂 After watching so many of the competitors talking about proving their dough and getting the correct amount of time for the dough to rise, actually taking part in waiting for my bread to grow was very exciting. At first, the dough hadn’t started rising after about 20 minutes so we altered the conditions of the room by opening the oven and turning the heat on in the house. We basically made our own proving drawer. “Room temperature” can be difficult to figure out in order to make the yeast feel happy enough to rise.
")
")
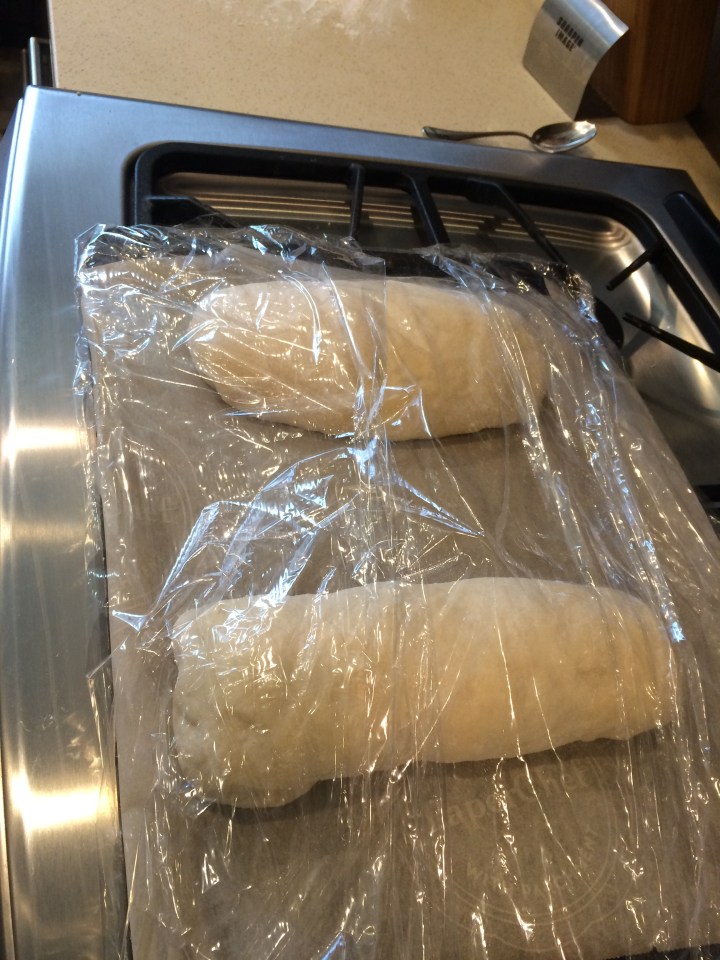
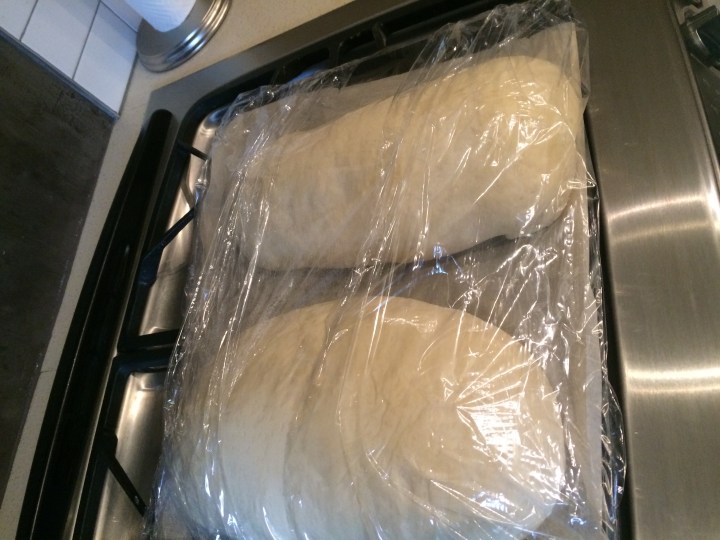
Once we noticed that our dough had probably doubled in size (about a little over an hour later), we got to shape it into the Bloomer Loaf! We also followed along with the video in order to know what it should look like. Then, it was another LONG prove – this one was between 1-2 hours. We went out to run some errands and walked the dog in order to keep ourselves busy, and not antsy about the bread rising accurately.
")
")
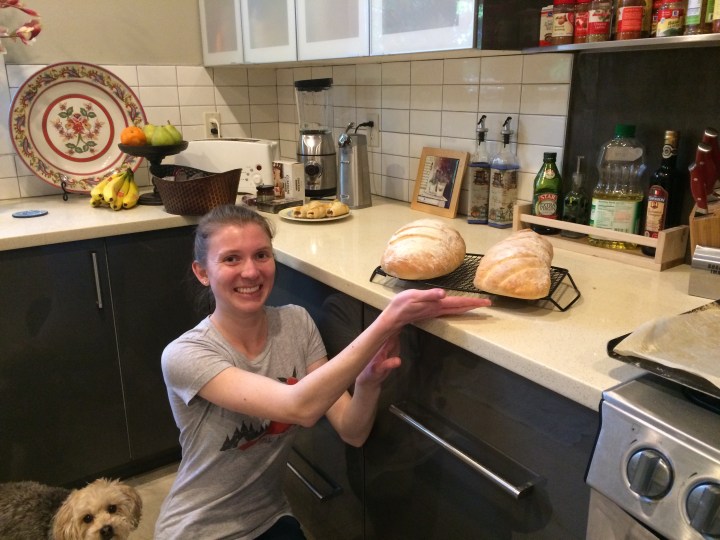
SURPRISE! It actually looks like a loaf of bread 😮 And they were both so huge! (picture below) We were so pleased with ourselves for making a successful dough 🙂 Lastly, we covered it in flour and did some slashes down the sides to make it look even more like the Bloomer style loaf. Then it was the last amount of waiting while it baked in the oven.
The final products were great!! The bread puffed up and became golden brown. It was a bit softer than we thought it would be, but it looked the part and tasted like bread. This was a very fun baking experience! Now, we are wanting to experiment with so many different Mary Berry and Paul Hollywood recipes from The Great British Baking Show – my next conquest is going to be breadsticks, and Mom plans to make one of Mary’s cakes.

Well I had so much fun and we are still enjoying the bread!
LikeLiked by 1 person
It was very exciting to see the stages 🙂 and I love my loaf too! Look forward to what we bake next
LikeLike
Looks yummy!! How did it taste? How fun life is in Portland!! 😘
LikeLiked by 1 person
It tasted like bread! (As it should) Nathan and I have my loaf at the apartment
LikeLike